6 beautiful Fife beaches for the perfect escape
18 Sep 24
9 MIN READ TIME
02 February 22
Outdoor
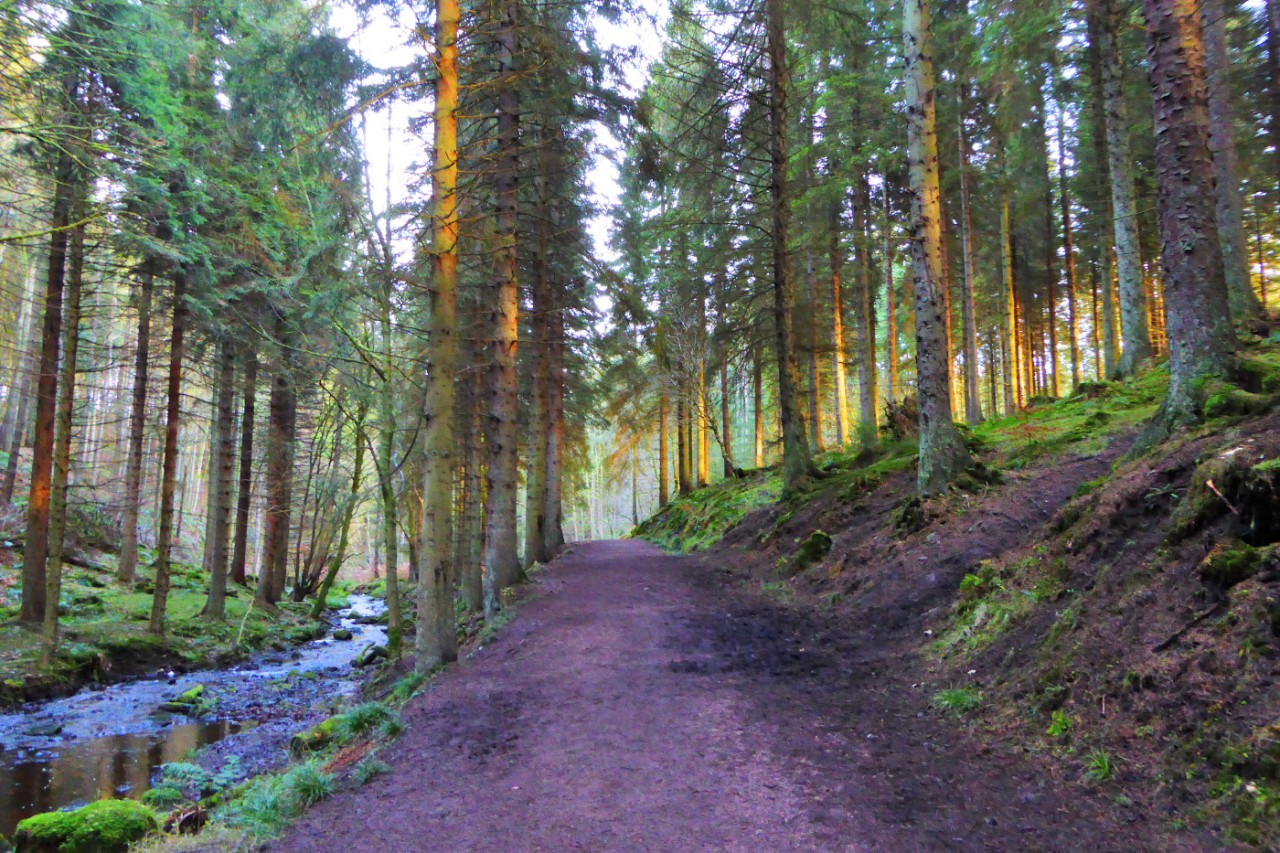
If you’ve ever driven up or down the M90 you will have passed directly alongside Blairadam Forest, but you might not have been aware of it. It’s one of the largest forests in Fife and, while much of it is conifer plantation it has an undeniably different feel to our other big forests at Tentsmuir, Devilla and Ladybank. This is partly because it has a trail that follows a picturesque meandering burn through a small glen, something the other forests lack, and partly because there are still intriguing visible remnants of its industrial past.
There are three waymarked trails at Blairadam – Blue (the Keltyhill Glen Trail), Red (the Glen Trail) and Yellow (the Blairenbathie Mine Trail). You can try any of these on their own, but the route I’ve put together here uses half of the Red and half of the Yellow in order to give you a longer walk that still takes in the most attractive part of the forest (which is on the shorter Red trail). Blairadam is of course far larger than this route suggests, extending much farther west towards the Kinross-shire border at Loch Glow, and ending within touching distance of Knock Hill.
Time: 1hr 15 mins if you power around. 2hrs if you’re taking your time.
Distance: 4.8km
Ascent: 75m
Path info: Good woodland paths and forest roads, but some stretches along the Yellow trail can be muddy.
Start & finish: Forestry Commission car park west of Kelty, just off Junction 4 of the M90. The entrance to Blairadam Forest is on the B914, but the main car park is located about 1km further along the access road. Google Maps: bit.ly/blairadam OS grid reference: NT129946.
Public transport: None to Blairadam itself, however you could get a bus to Kelty then walk to Dullomuir Avenue, from where a path leads immediately over the M90 via a footbridge and then emerges on the Blairadam access road. It takes 10 - 15 mins to walk from Dullomuir Avenue to Blairadam car park. See this walking route on Google Maps: bit.ly/m90footbridge
Information: Most Forestry Commission woodlands have a dedicated website and Blairadam is no exception - https://scotland.forestry.gov.uk/visit/blairadam.
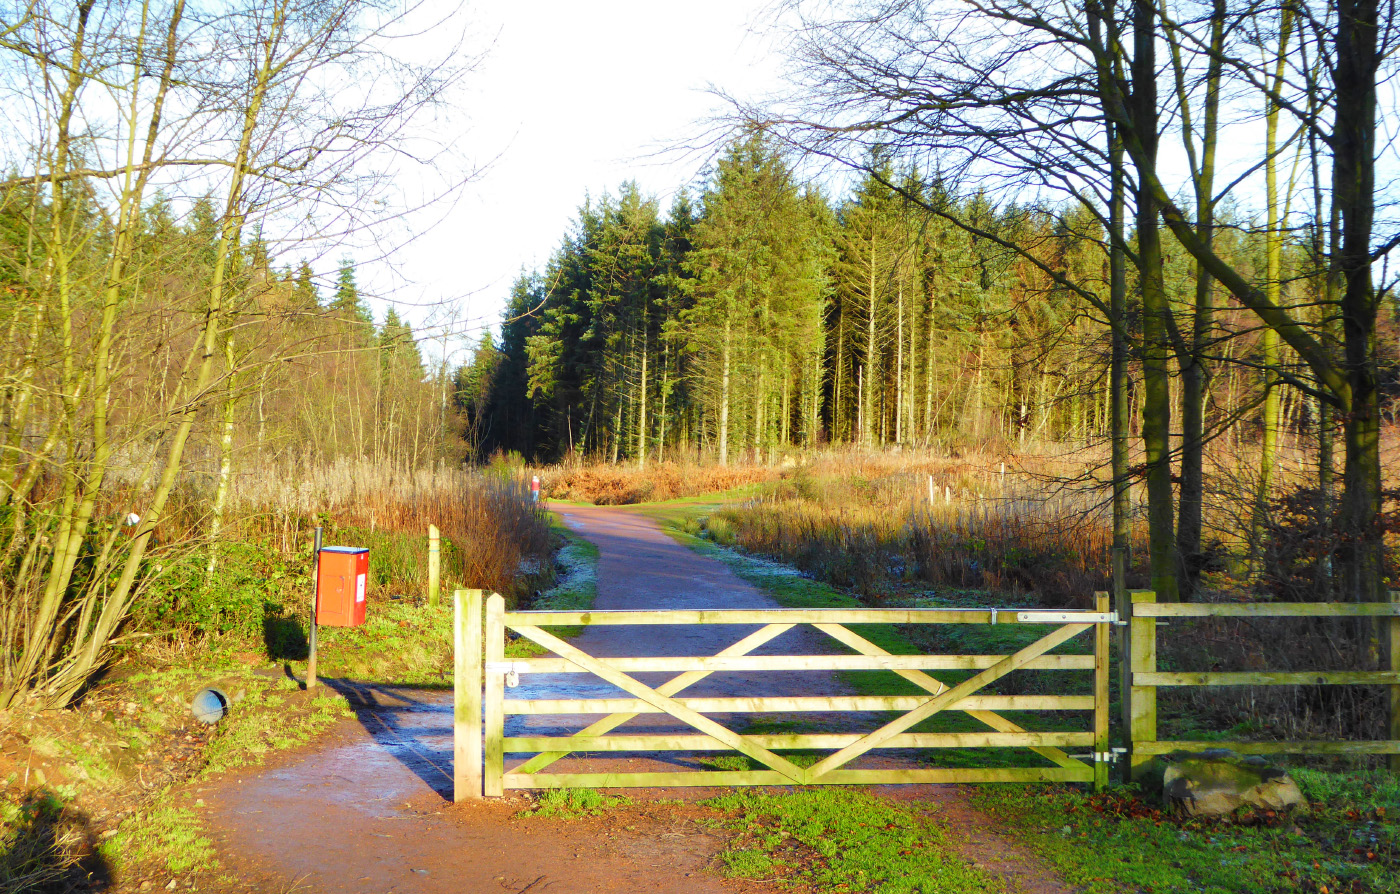
When you reach the end of the access road, the work sheds are located on the left side of the road, and the car park is on the right. From the car park, with the work sheds on your left, head downhill and walk past the wooden vehicle gate, then head along the wide surfaced path that leads clearly towards the forest.
After a minute or two you reach a totem pole. It is one of three that were carved at the Kelty Community Centre (to which the public could come along and watch) by Canadian First Nations artists and Fife-based wood carver Kenny Grieve back in 2005. The other two were installed in Kelty itself.
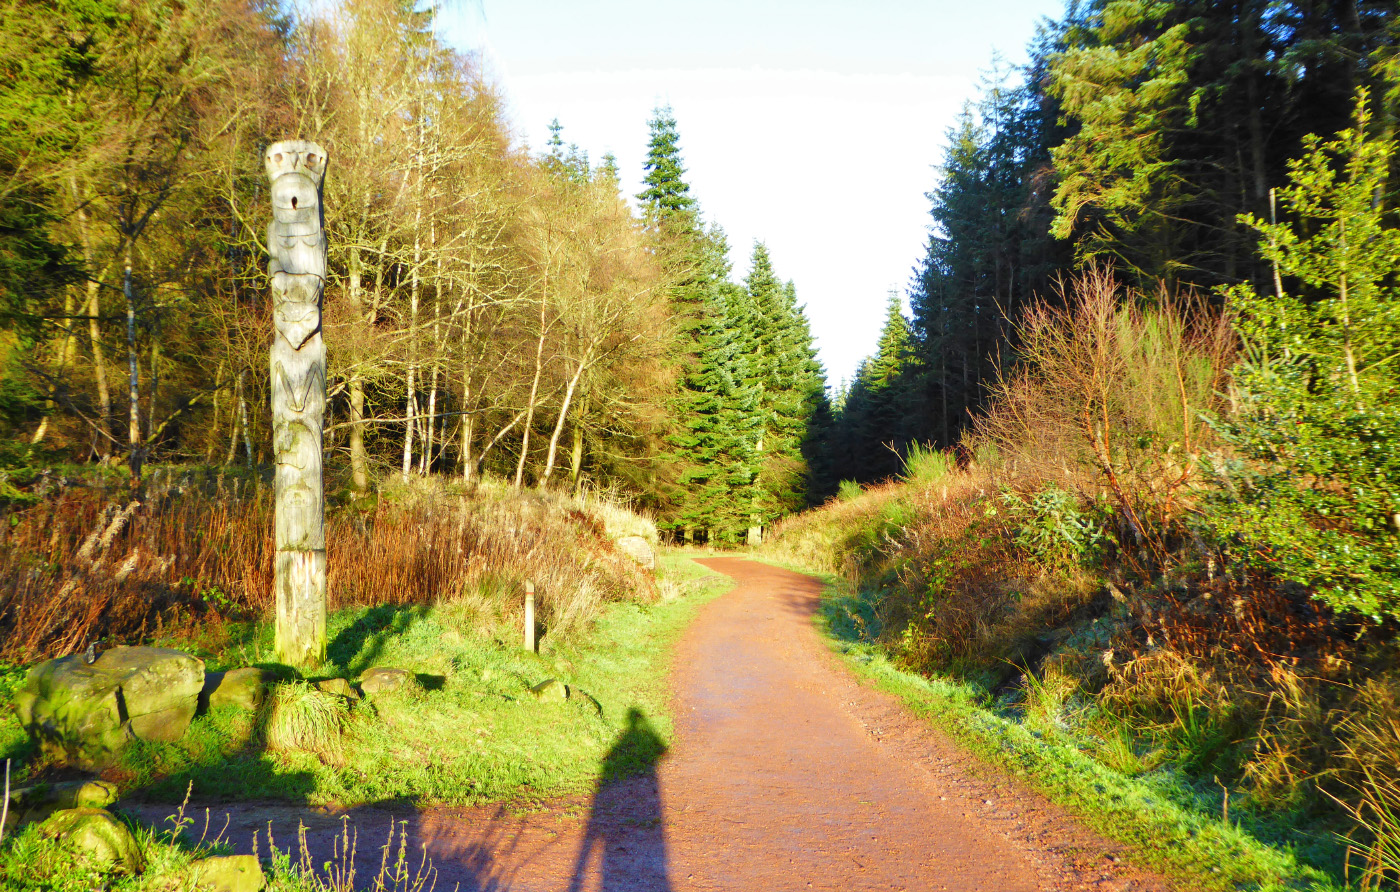
At the totem pole, ignore the waymarked path that heads off to the left and instead continue straight ahead on the main path, which heads slightly downhill past a brick façade on your left.
If you look closely at the brick wall you will see a picture of a large cat, with the words ‘Touch not the cat’ inscribed at its rear. This is a nod to the fabled sightings of a big black cat in Blairadam Forest over the years, including one in January 2004 when the secretary of Dunfermline’s Carnegie Harriers, who won a race in the forest that month, attributed his win to having been scared witless by a big cat that ran along the track in front of him. You can soak up the atmosphere by reading Jim Douglas’s poem, the Beastie o’ Blairadam:
https://scotland.forestry.gov.uk/images/pdf/rec_pdfs/JimDouglas_TheBeastofBlairadamtranscript.pdf
After the brick wall the path surface becomes slightly cobbled and then the path forks. Take the left fork and then, almost immediately afterwards you arrive at a crossroad of paths with a green gate on your left and another green gate straight ahead.
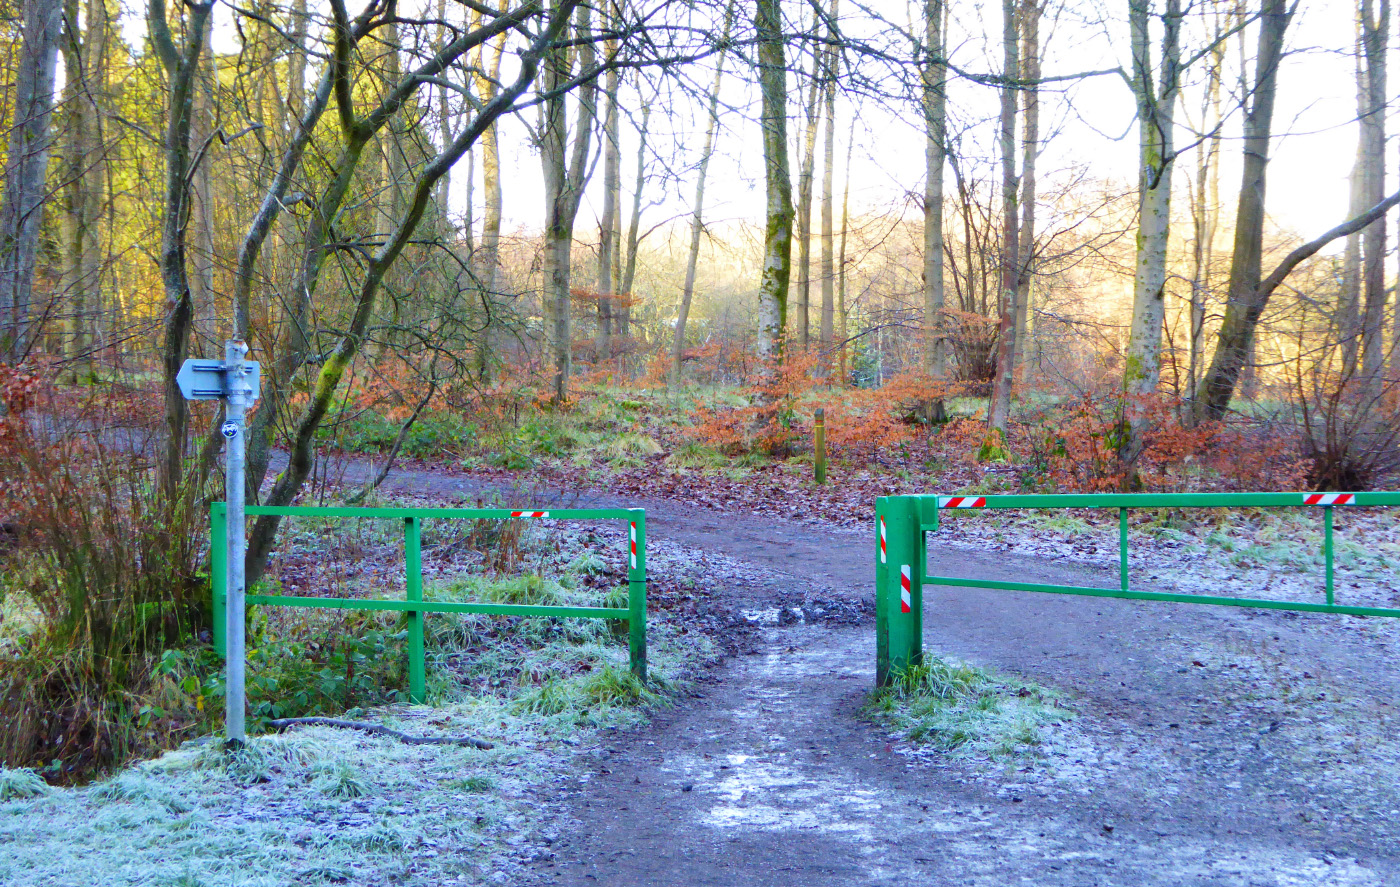
Continue straight ahead, crossing over the forest road and going through the green gate on the opposite side. Red/Yellow waymarkers show the way beyond here.
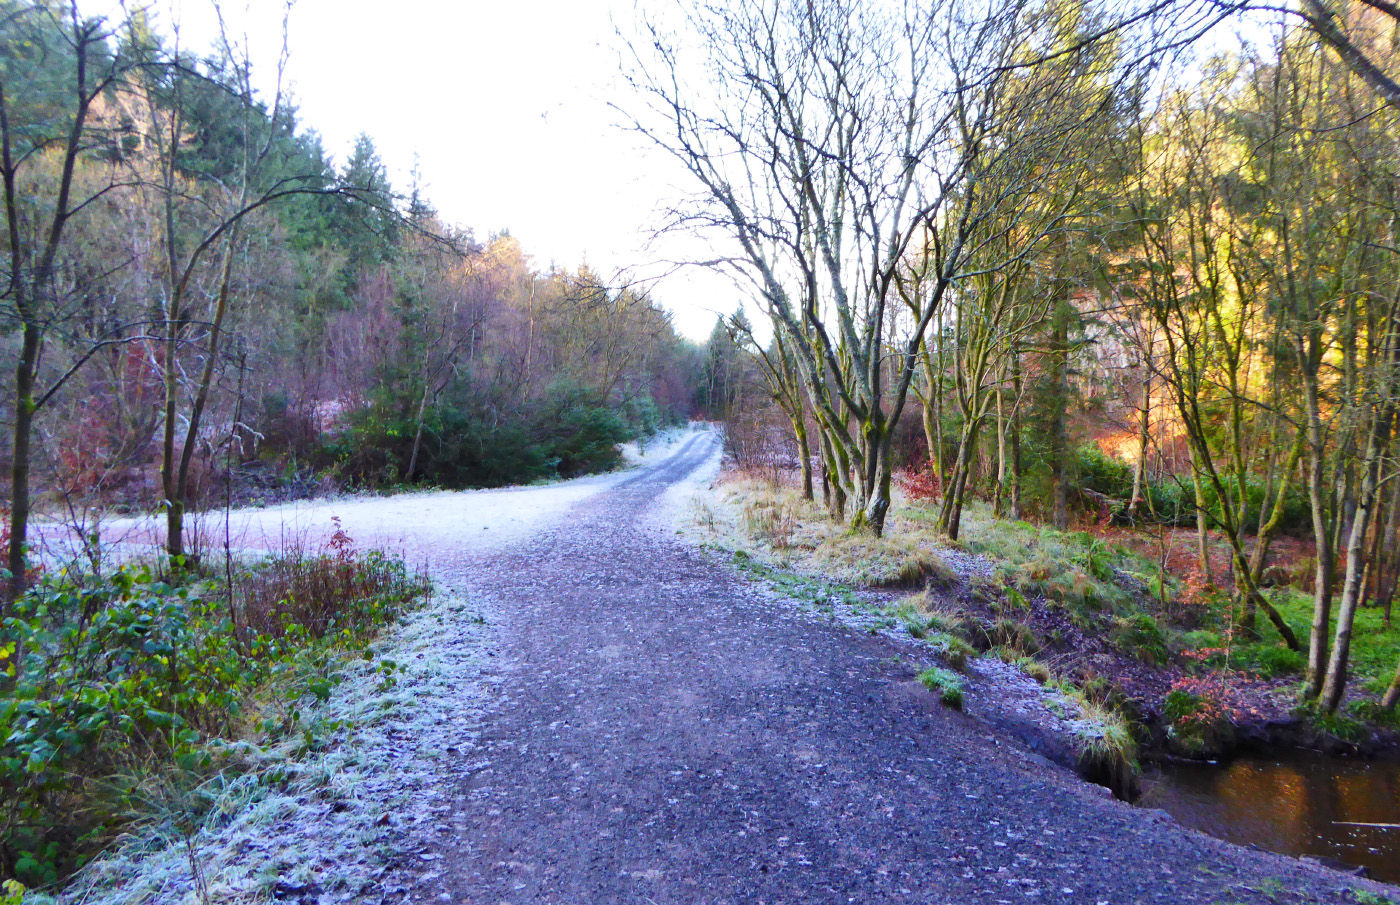
Follow the wide track, which bends to the left and climbs slightly. Ignore the forest road joining from the left, and continue on your track as it veers to the right, still following the Red/Yellow waymarkers.
The track crosses a small burn and then another smaller path, marked by a Red waymarker, joins from the left.
That path on the left is where you will emerge in about an hour’s time, so ignore it for now and instead continue straight ahead on what is now the Yellow waymarked route.
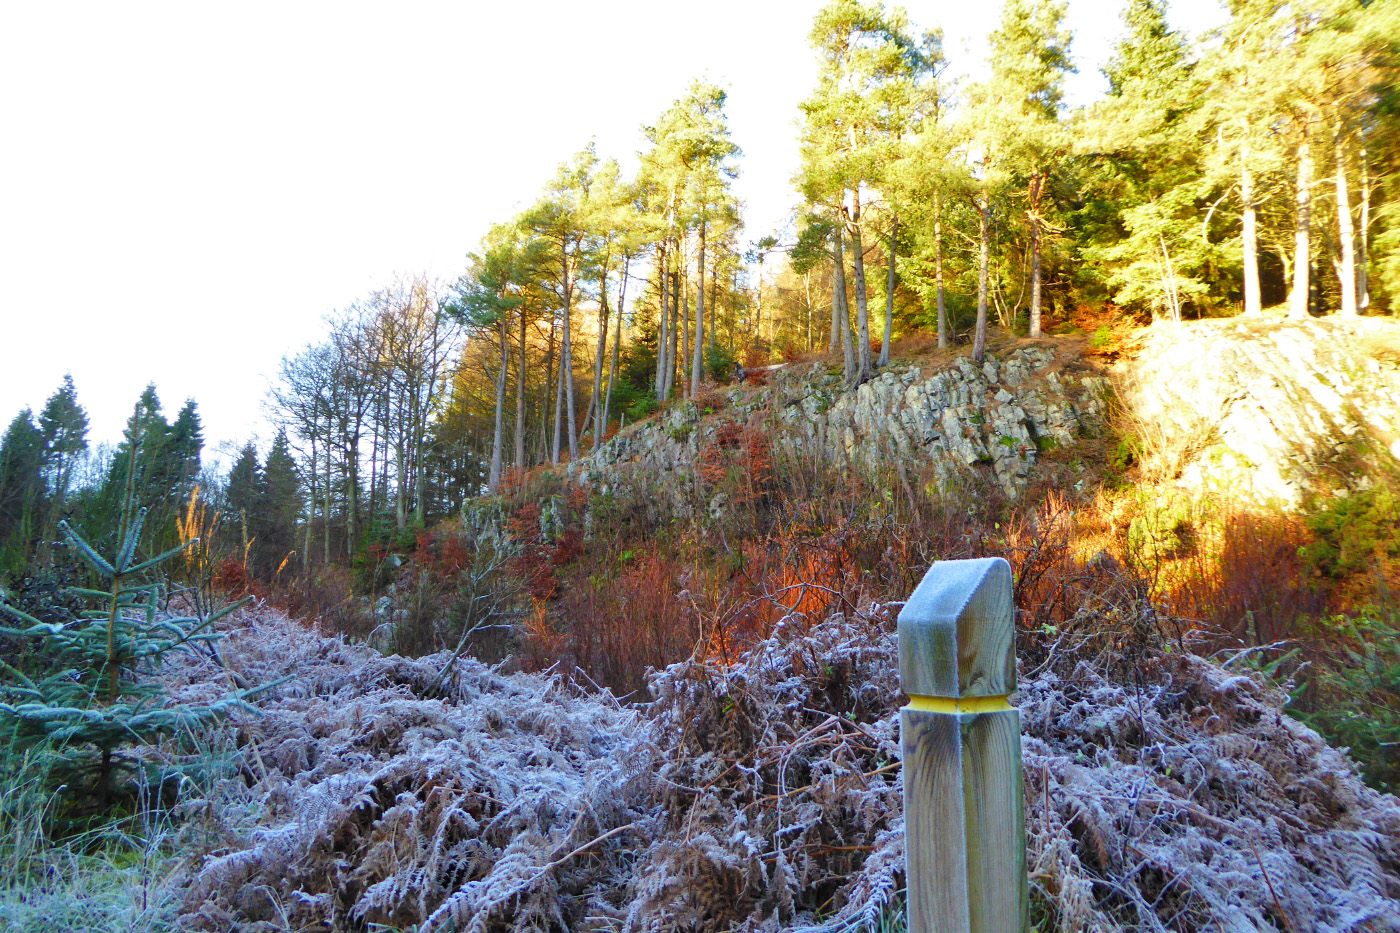
You pass an obvious crag to your right, after which the track bends right and then left before heading into the distance in a long straight section, climbing uphill.
Follow the track all the way along and up the hill. After 0.5km you reach a t-junction of forest roads. Turn left, still following the Yellow waymarkers.
About 100m later, where the track bends to the left, you might notice some ruined buildings in the trees to your right:
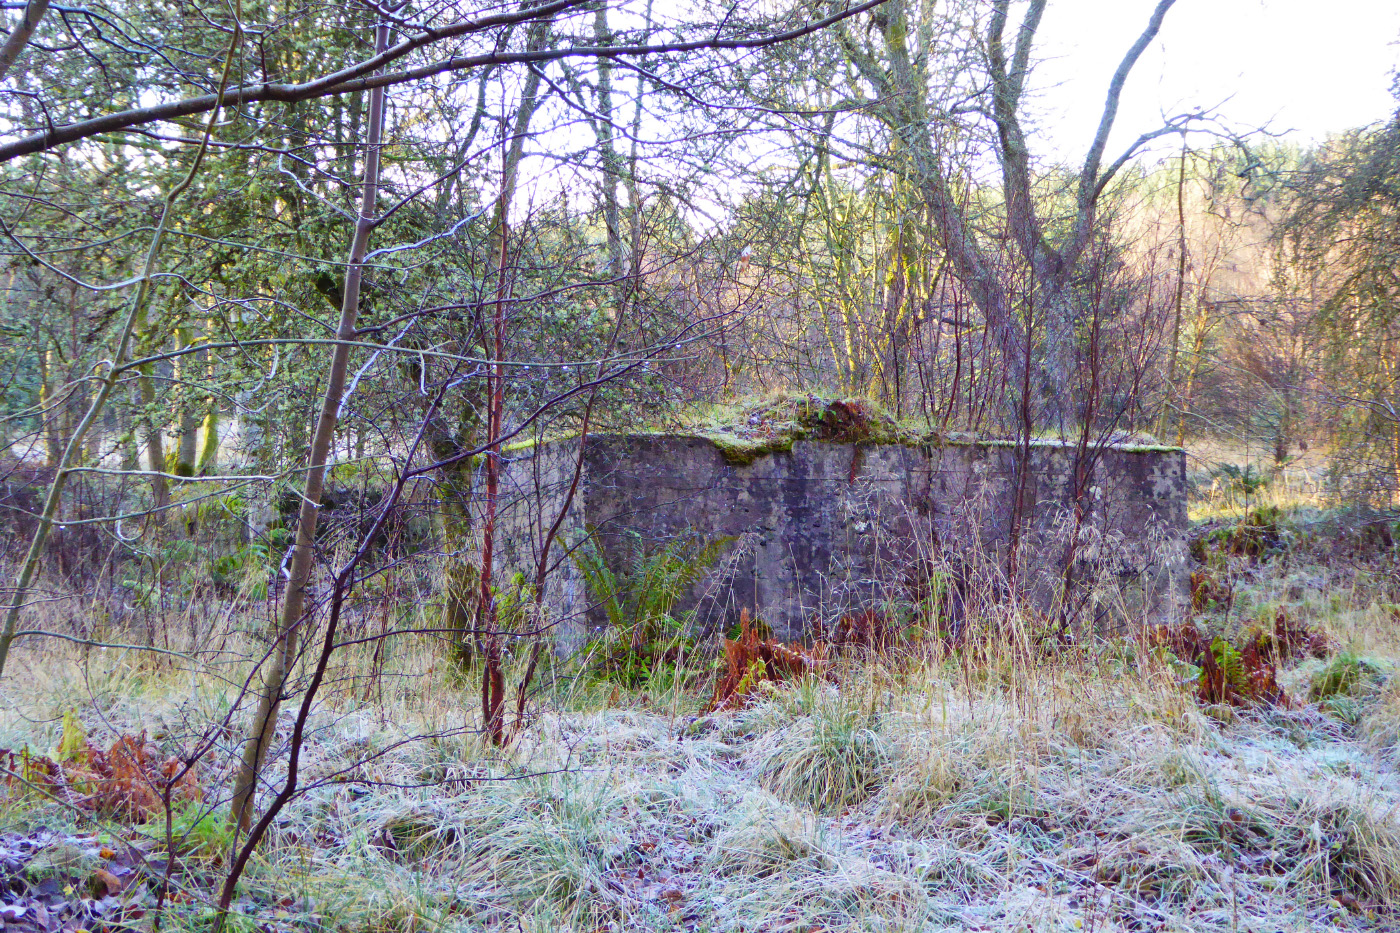
This is all that remains of the Blairenbathie coal mine, which was commercially operational between 1949 and 1962. At its peak a workforce of around 130 were removing 120 tonnes of coal per day from here, and it was transported off site by a railway, evidence of which will be seen a bit later on in this walk. The remaining structures are mossy, overgrown and decaying, plus you never know what holes might be lurking underneath it all, so be very careful if you take a closer look.
A couple of hundred metres after the ruins, the track bends to the right and heads noticeably uphill.

At the top of the slope the track veers right through an area of mossy green boulders. It then climbs a bit more before arriving at a wooden bench on your right.
Not long after the bench the path veers left, and then you’ll see another more ornate wooden bench in the woodland to your left. Continue along the path, which is now noticeably wider.
When you reach a T-Junction of forest roads, turn left towards a small stone bridge, and note the amazingly mossy green tree just before the bridge!
After you’ve crossed over the bridge, the track heads very straight towards another stone bridge (with green safety railings on either side).
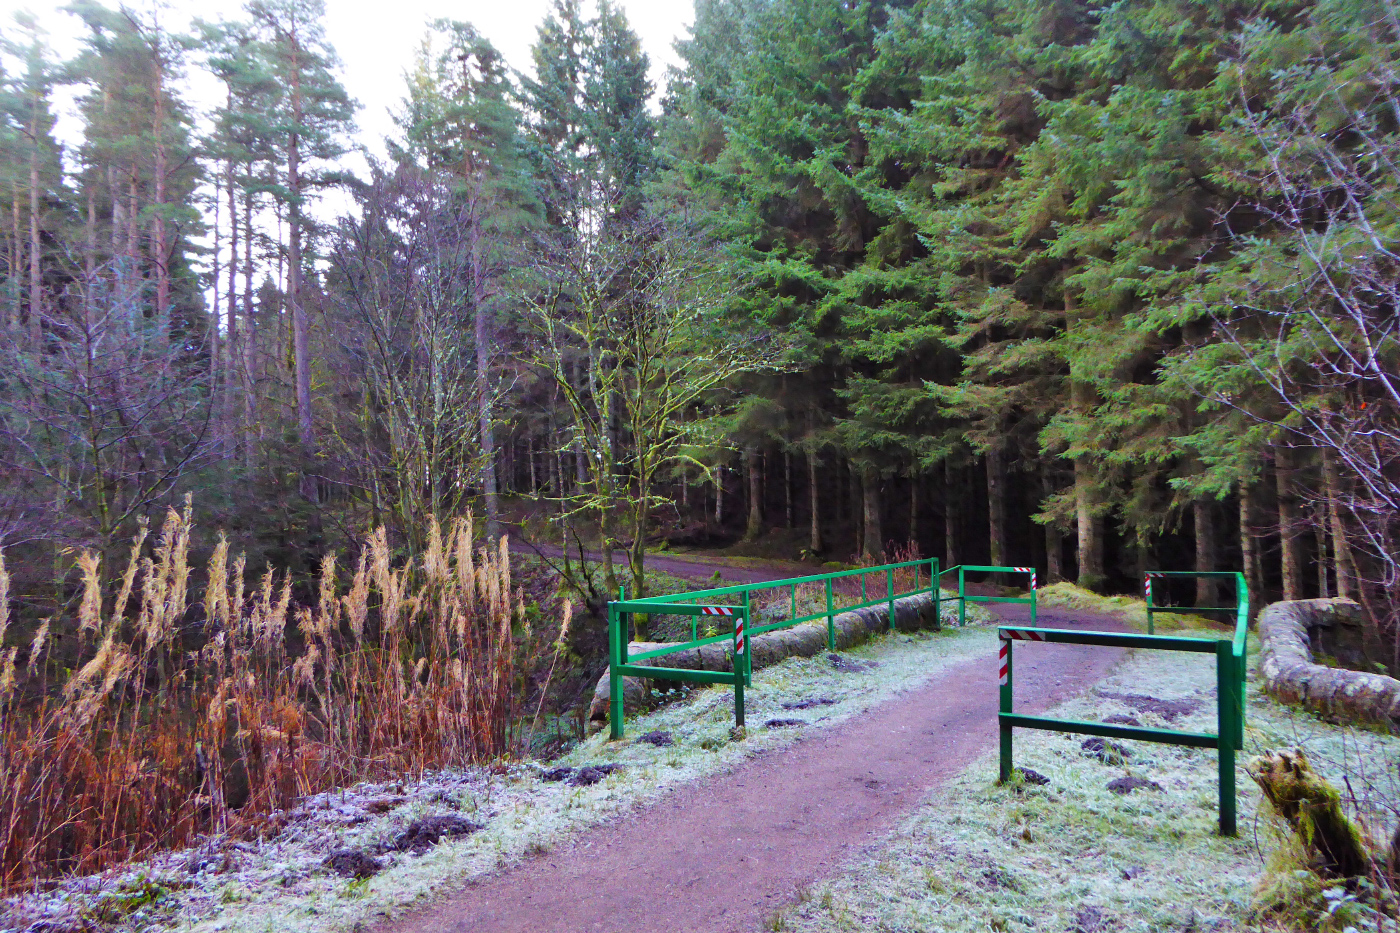
Cross over the bridge and then continue on the track as it veers left. A couple of minutes later, on another straight section of track, a surfaced red gravel path heads off to the left.
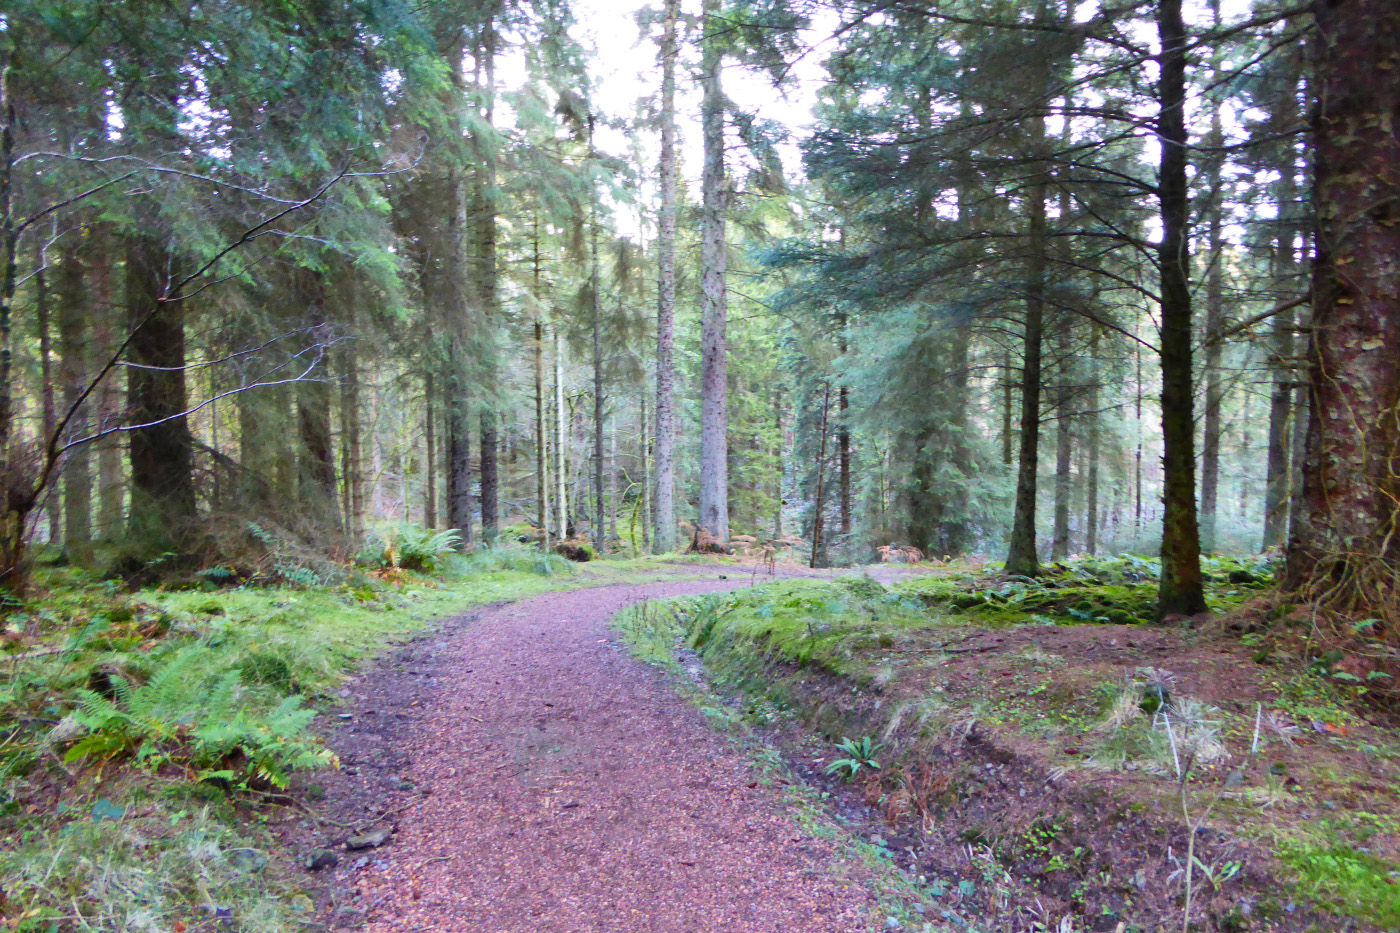
Take this path, which first heads downhill towards the glen before bending right through an area of very tall spruce trees.
At a T-Junction marked by red waymarkers, turn left and then follow the path as it bends to the right and heads downhill towards the Kelty Burn. The burn stays on your left until you cross a stone bridge with a bench, after which the burn is on your right.

About 150m after the stone bridge you pass a strange brick structure and metal sculpture on your left. This is all that remains of the bridge that once carried the railway from Blairenbathie Mine over the span of the glen.
The path then snakes its way down the glen, crossing the main burn twice more (via stone bridges) before emerging at the junction you passed an hour or so earlier, opposite the distinctive crags.
At this T-Junction turn right onto the forest track, crossing back over the Kelty Burn one last time. From here you can retrace your steps back to the beginning of the walk, following the Red/Yellow waymarkers back through the green gates and back up the hill to the totem pole and the car park.
Note: this route is for supporting information only. Anyone venturing into the countryside does so at their own risk and should be properly dressed / equipped for the occasion.
Enjoy Scotland’s Outdoors – know your access rights & responsibilities:
Download the Scottish Outdoor Access Code